Configuring Event Badges
re:Members AMS event badges can be configured to display certain registrant information, a QR code for simple on-site scanning, a background image, and more. You can print them en masse, individually as registrants check in, or even allow registrants to print their own. Even if you plan on using an external service to print your event badges, you may still choose utilize the Badge Preview page of registration as a means of allowing registrants to customize what information is displayed.
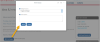
To configure badges, navigate to the Event Record > Details tab > Badge Template menu option.
![]()
Note: re:Members AMS badges are sized to Avery 5392 badge stock.
Badge Configuration Settings
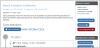
- Event Name on Badge (text field)
- By default, the system uses the event Name (editable under the Details tab > General Info menu option) as the event name on the badge. The Event Name on Badge field allows staff to customize the name to appear more appropriately on badges. This can be used, for example, in cases when the event name is too long to fit properly on badges.
-
Note: An "Event Name" or "Event Name on Badge" will only be displayed on badges that do not have a background image set.
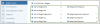
- Hide Badge Preview (check-box)
- By default, a badge preview page appears during the registration process, showing the registrant their information as it will appear on the badge and giving them the option to update.
- Enabling Hide Badge Preview prevents both staff and non-staff users from seeing or editing badge information during registration. It also hides all other options on the Badge Template configuration page and removes the option to run the Badge Report via the Actions drop-down.
- Use this option if your event will not offer badges, or will be employing an external badge printing service that pulls information from baseline or custom fields.
- Print Badge for Ticketed Registrants (check-box)
- For clients using ticketed sessions, enabling this option includes in the Badge Report any individuals assigned to session tickets, thus allowing them to receive badges.
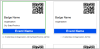
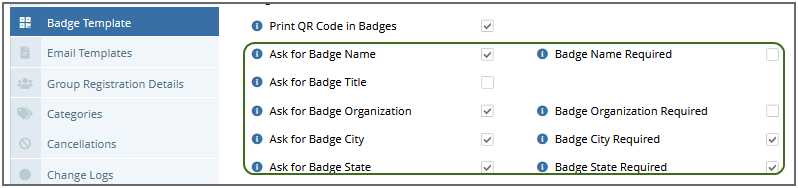
- Print QR Code in Badges (check-box)
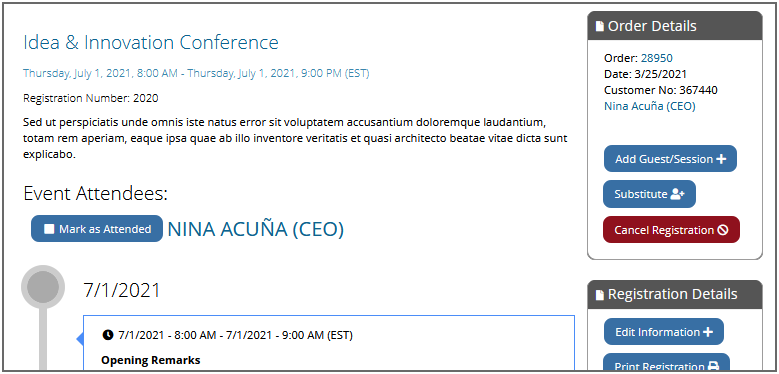
- Enabling this option causes a QR code to automatically appear on each badge. This code is unique to each registrant and can be scanned using any smartphone camera app to access that registrant's Event Registration Detail page.
- From the Event Registration Detail page, staff can review and manage the details of the registration and mark a registrant as having attended.
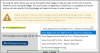
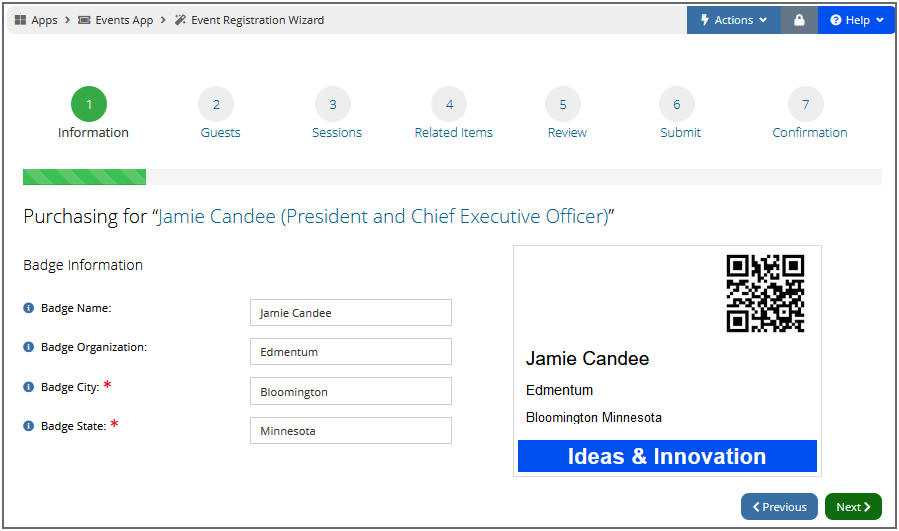
- Ask for / Require Badge Fields (check-box)
- Badges can be configured to ask for and require specific pieces of information, including Badge Name, Badge Title, Badge Organization, Badge City, and Badge State. A field that has the "Ask for" check-box enabled can also be set to require registrants to provide that information during the registration.
-
Note: During the registration process, badge fields will automatically fill in with information from the registrant's profile, but can be edited. However, the field values are independent from and not linked to the profile information. For example, editing the value for the Badge Organization field does not update the Organization that is listed on the registrant's profile. Likewise, if a registrant were to edit the address on their profile after registering for an event, the Badge City and Badge State fields on their registration would not update to reflect those changes.
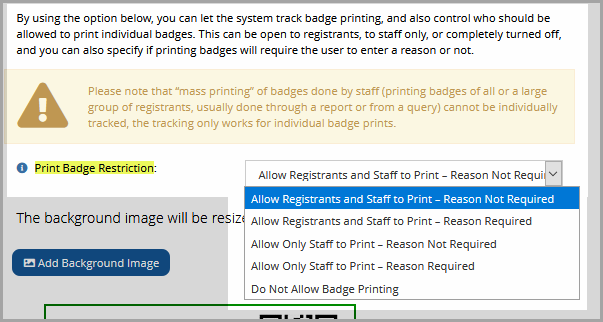
Badge fields can be edited on existing registrations from the Event Registration Detail page by clicking the Edit Badge button. - Print Badge Restriction (drop-down field)
- Choose whether staff and/or non-staff can print a copy of an individual badge. The reason for printing can also be required. (This setting does not impact the mass-print badge report.)
- The option to print an individual badge is accessible from the registrant's Event Registration Detail page.
- If a Badge Print/Reprint Fee is enabled, the option to charge it will appear after printing the individual badge. Fees can only be applied to Badges printed by staff. Fees are configured on the Event record, under the Prices tab, in the Misc Fees section.
- Add Background Image (button)
- Badges can be customized with a background image of your choice. Background images should be sized to 384 x 287 pixels or a comparable ratio, allow for an overlay of black text to stand out legibly, and include your Event’s name or branding.
- Default maximum upload file size is 5 MB. Allowed file extensions include .jpg, .jpe, . jpeg, .png, .gif, and .bmp.
- Once the image file is uploaded, a preview will appear in the Badge Template section. While this will not be an exact representation of the badge's appearance, it can give you a general approximation.
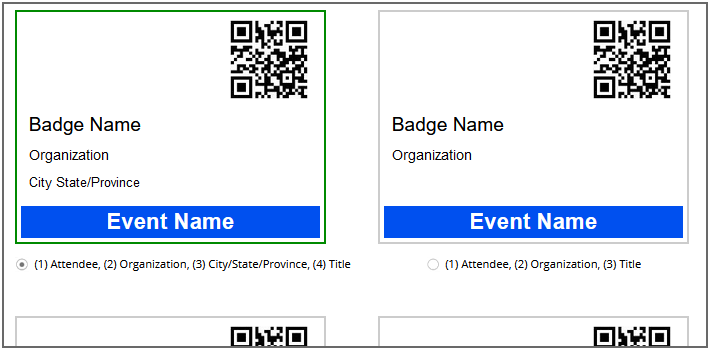
- Badge Template (radio button)
- At the bottom of the badge template form, choose the desired layout from the preexisting templates. While the "Ask for" fields determine what information is included on the badge, the layout determines the order in which that information is displayed.

-
Also see: Printing Badges